windows10配合1650显卡安装Deep-Live-Cam教程,实现实时换脸,效果流畅!
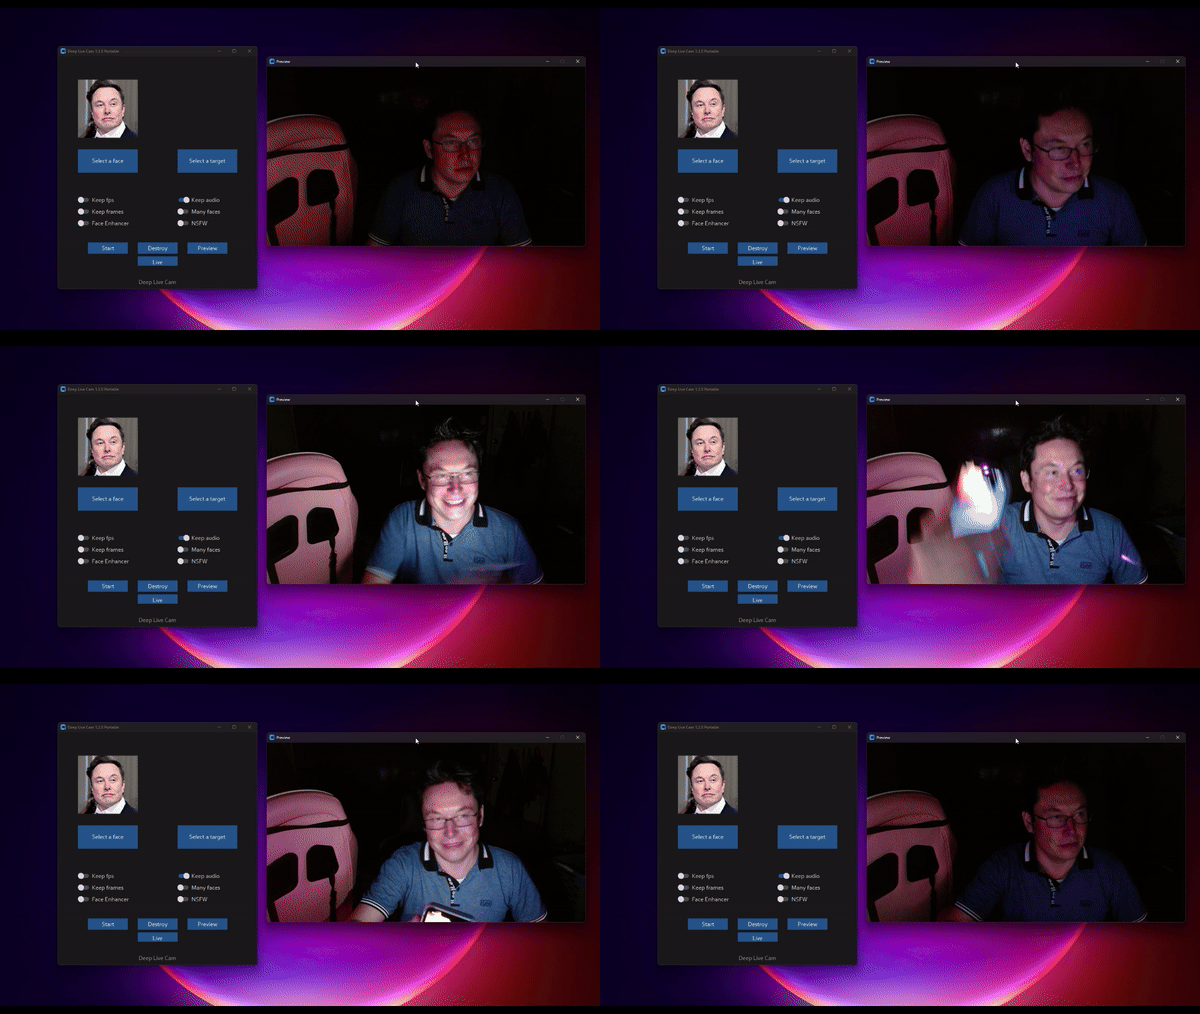
官方实例
1.环境配置
- python (3.10 recommended)
- pip
- git
- ffmpeg 需要配置环境变量
- visual studio 2022 runtimes (windows)
2. 克隆仓库
https://github.com/hacksider/Deep-Live-Cam.git
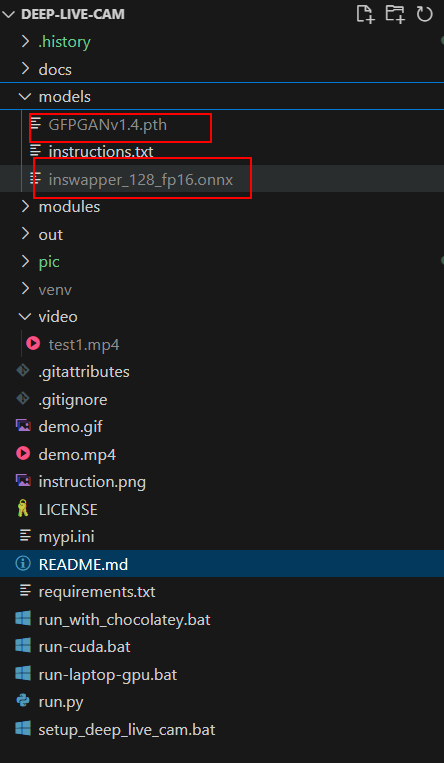
3. 下载模型
下载好之后,将模型放到models文件夹下
4. 安装依赖
强烈推荐使用venv虚拟环境
# 创建虚拟环境
python -m venv venv
# 激活虚拟环境
venv\Scripts\activate
pip install -r requirements.txt
5. 运行
python run.py
6.使用实时摄像头
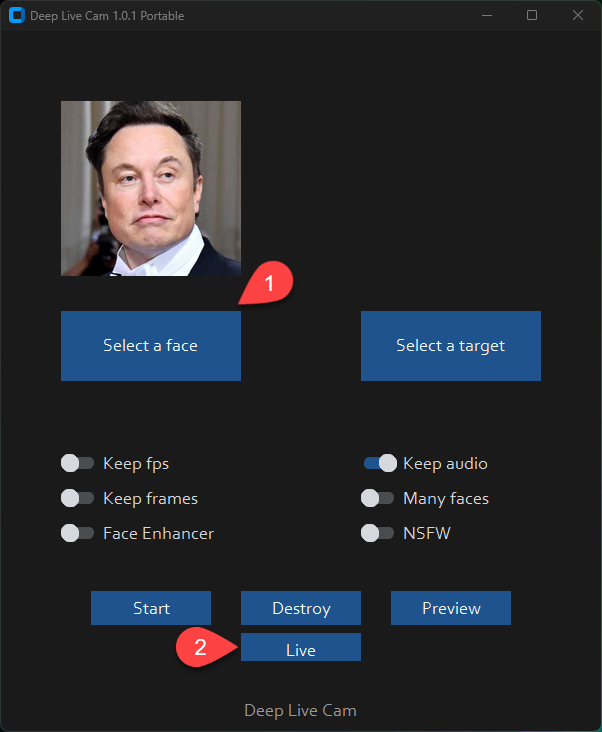
7.演示效果

使用GPU加速
安装依赖:
pip uninstall onnxruntime onnxruntime-gpu
pip install onnxruntime-gpu==1.16.3
- 如果gpu可以使用,则使用下面的命令:
python run.py --execution-provider cuda
安装过程遇到的问题
AttributeError: ‘NoneType’ object has no attribute ‘configure’
原因:没有安装 ffmpeg 或者没有配置环境变量 对应issue:https://github.com/hacksider/Deep-Live-Cam/issues/67
tb-nightly install error
原因:未知 解决方案:
pip install tb_nightly==2.14.0a20230808 -i https://mirrors.aliyun.com/pypi/simple
pip install gfpgan==1.3.8
对应issue:https://github.com/hacksider/Deep-Live-Cam/issues/127
画面模糊
原因:依赖的onnxruntime-gpu版本问题 解决方案:
pip uninstall onnxruntime onnxruntime-gpu
pip install onnxruntime-gpu==1.16.3
对应issue:无